


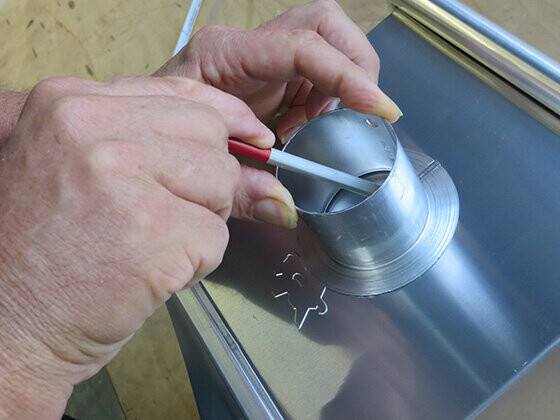
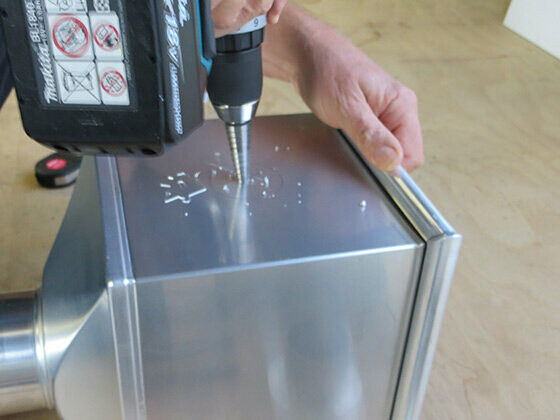
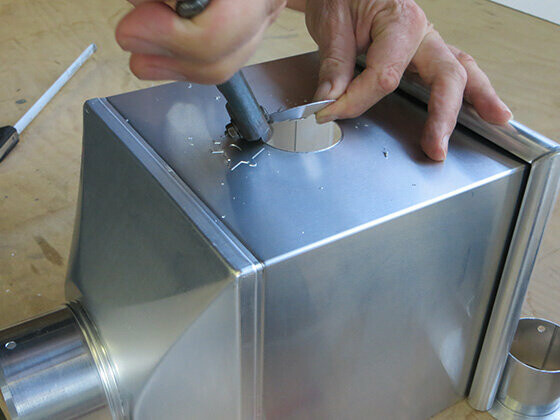
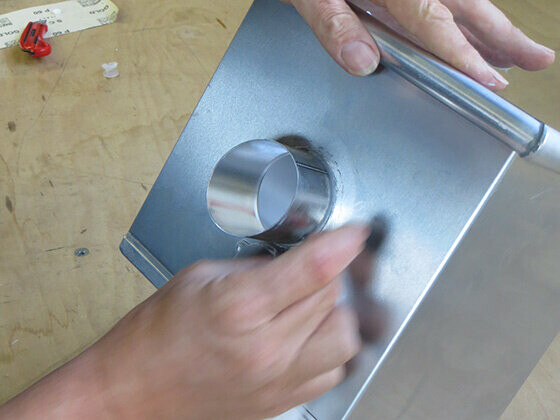
Tips & tricks — Leader head with emergency overflow
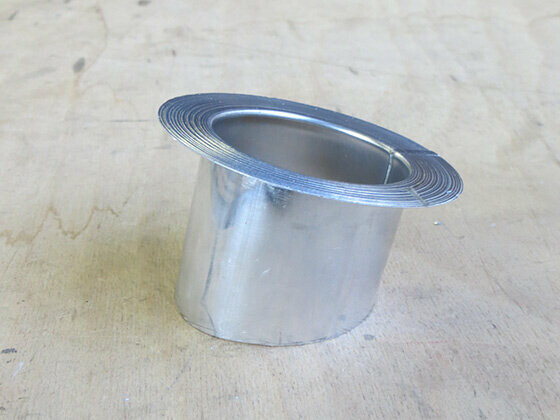

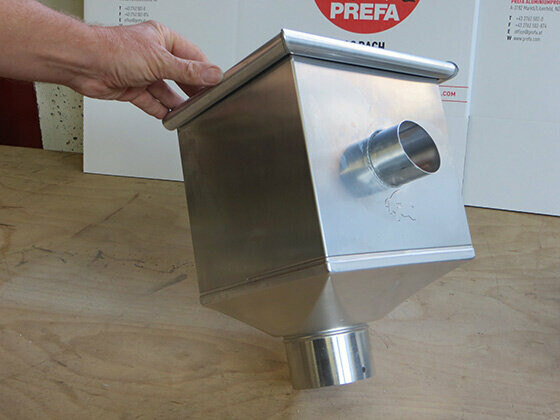
| The leader head with emergency overflow is not intended for use as an emergency drain! |


| The leader head with emergency overflow is not intended for use as an emergency drain! |